Project 1 - Part 1 - Feature Branch, Pull Request, and Azure Static Web Apps CI/CD
Project 1 - Part 1 - Feature Branch, Pull Request, and Azure Static Web Apps CI/CD
Overview
This part documents the first structured deployment workflow I used while building this website.
Instead of editing the production branch directly, I created a dedicated feature branch, updated the Projects / Lab section, pushed the changes to GitHub, opened a Pull Request, and let Azure Static Web Apps run the build and deployment checks through GitHub Actions.
This was an important step because it moved the project away from direct production editing and toward a cleaner branch-based workflow.
Why I Used a Feature Branch
Even though this is a personal website, I wanted to build it with better release discipline.
Using a feature branch helped me:
- isolate changes from the
mainbranch - prepare updates in a safer workspace
- push the work to GitHub before merging
- review the change through a Pull Request
- let Azure Static Web Apps validate the update before production merge
This made the project feel much closer to a real cloud workflow.
Step 1 - Create the Feature Branch
I started by creating a new feature branch:
git checkout -b feature/pr-preview-test
This created a separate branch for the Projects / Lab update and kept main untouched.

Step 2 - Review the Local Changes
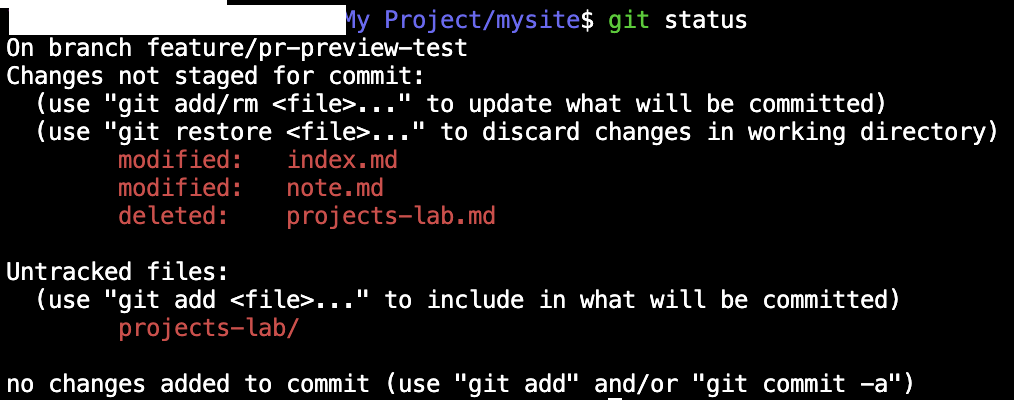
After switching to the new branch, I checked the working tree with git status.
The update included:
- changes to
index.md - changes to
note.md - removal of the old
projects-lab.md - creation of the new
projects-lab/structure
This confirmed that the update was ready to be handled as a proper branch-based change.
Step 3 - Commit and Push the Branch
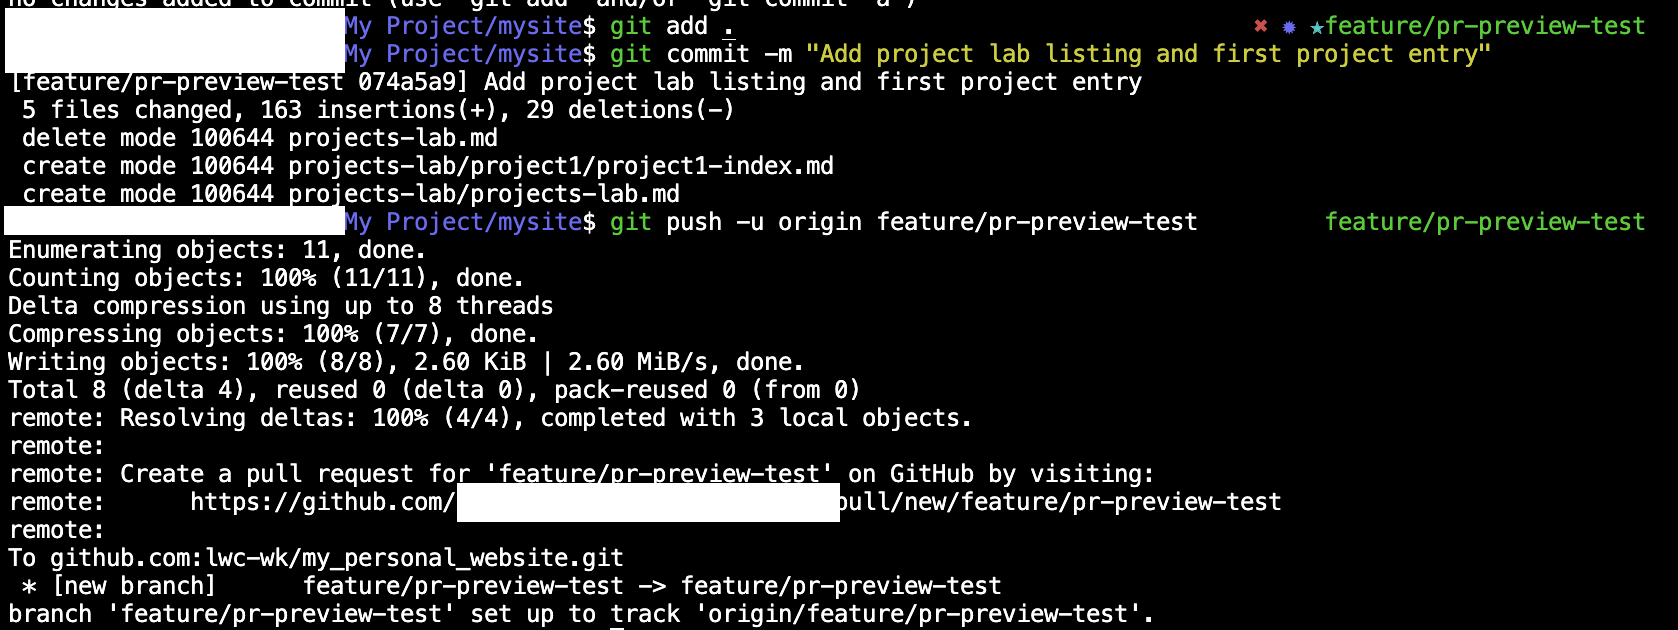
Once the content changes were ready, I staged and committed them:
git add .
git commit -m "Add project lab listing and first project entry"
git push -u origin feature/pr-preview-test
This pushed the feature branch to GitHub and prepared it for a Pull Request.
Step 4 - Open the Pull Request
After the push, GitHub showed the option to create a Pull Request for feature/pr-preview-test.

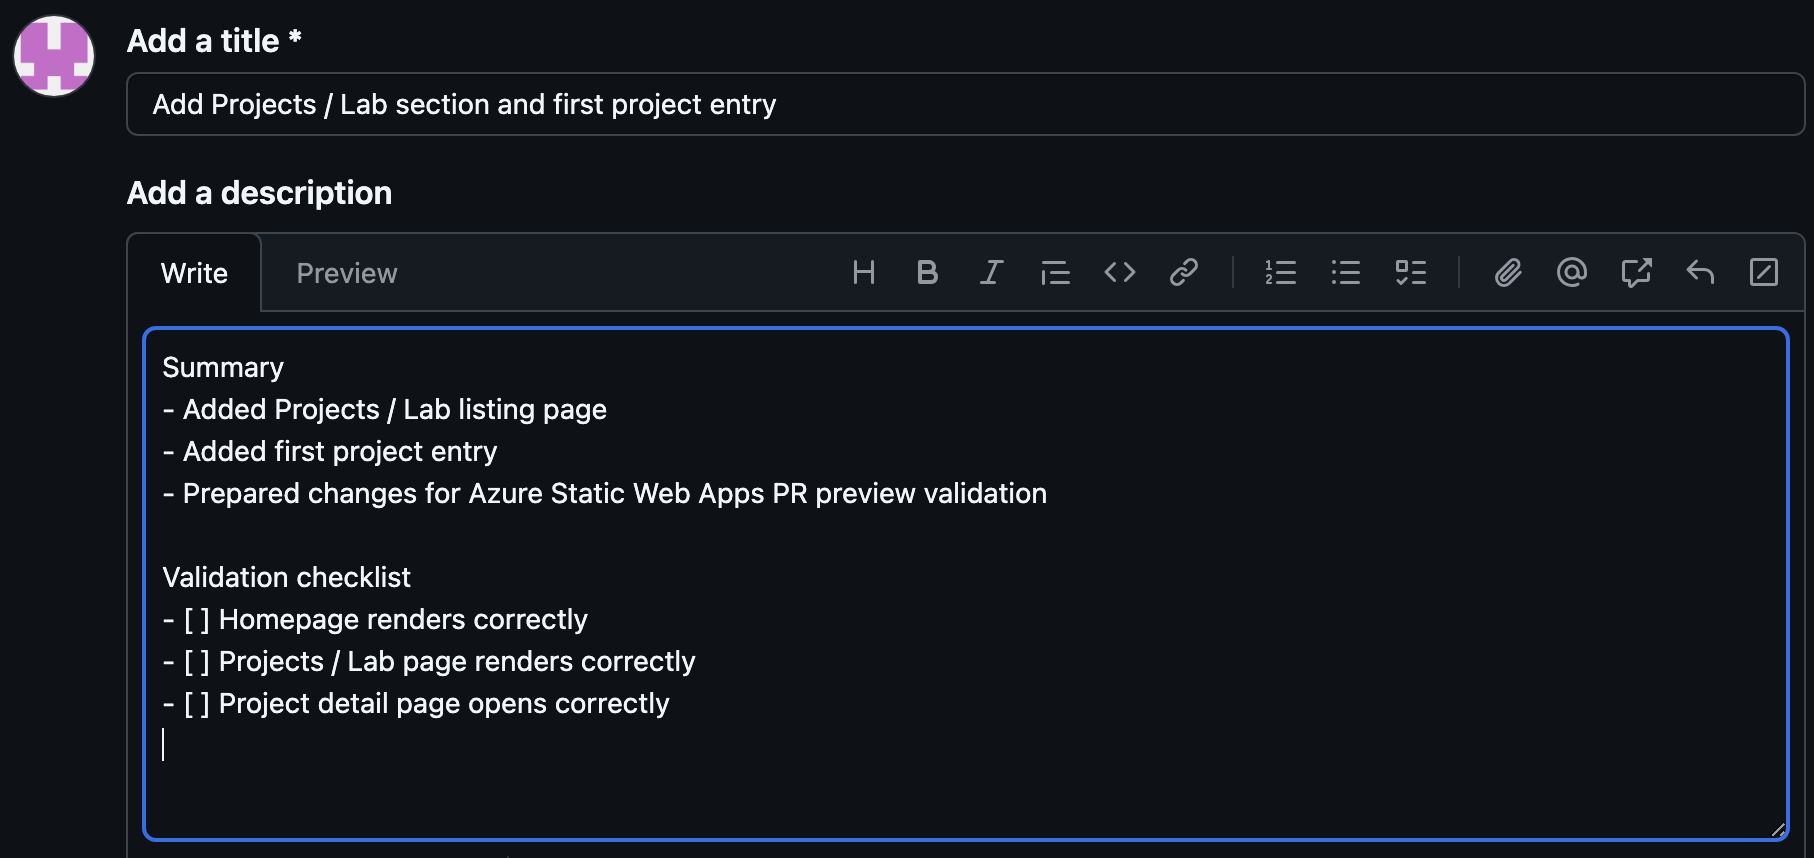
I opened the Pull Request against main and used a simple, clear structure.
Pull Request title
Add Projects / Lab section and first project entry
Pull Request summary
- Added Projects / Lab listing page
- Added first project entry
- Prepared changes for Azure Static Web Apps PR preview validation
Validation checklist
- Homepage renders correctly
- Projects / Lab page renders correctly
- Project detail page opens correctly
This helped turn a simple content update into a more structured deployment step.
Step 5 - Review the File Changes
The Pull Request showed the new projects-lab structure and the first project file clearly.
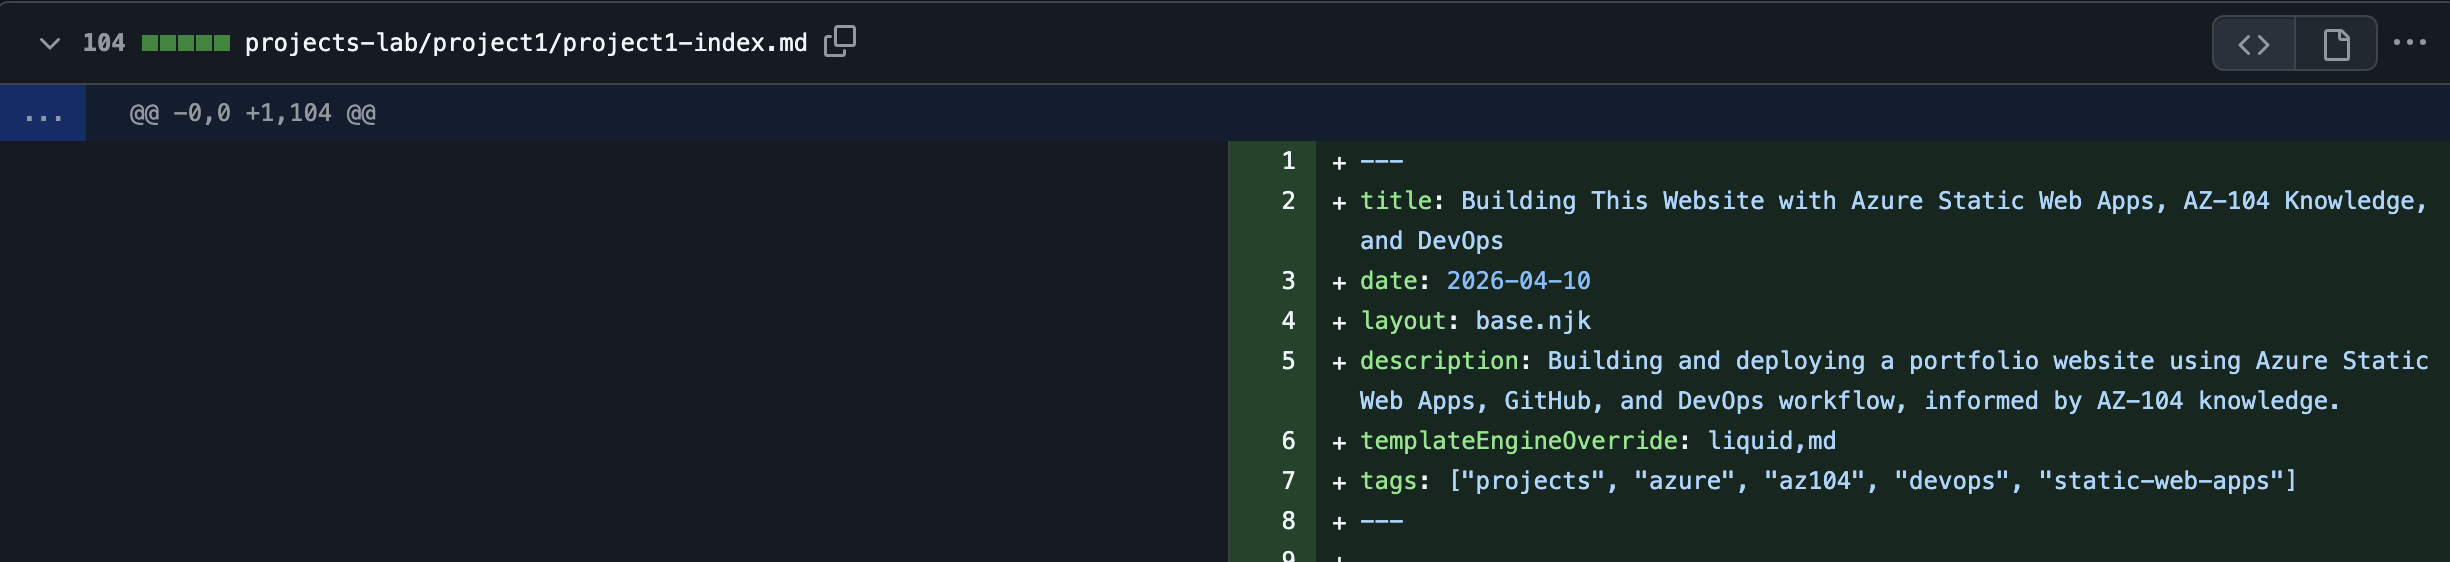
One of the main files introduced in this change was:
projects-lab/project1/project1-index.md
This was the point where the website started to become a more organized technical portfolio rather than only a static personal site.
Step 6 - Let Azure Static Web Apps Run the Check
Once the Pull Request was opened, GitHub automatically triggered the Azure Static Web Apps CI/CD workflow.
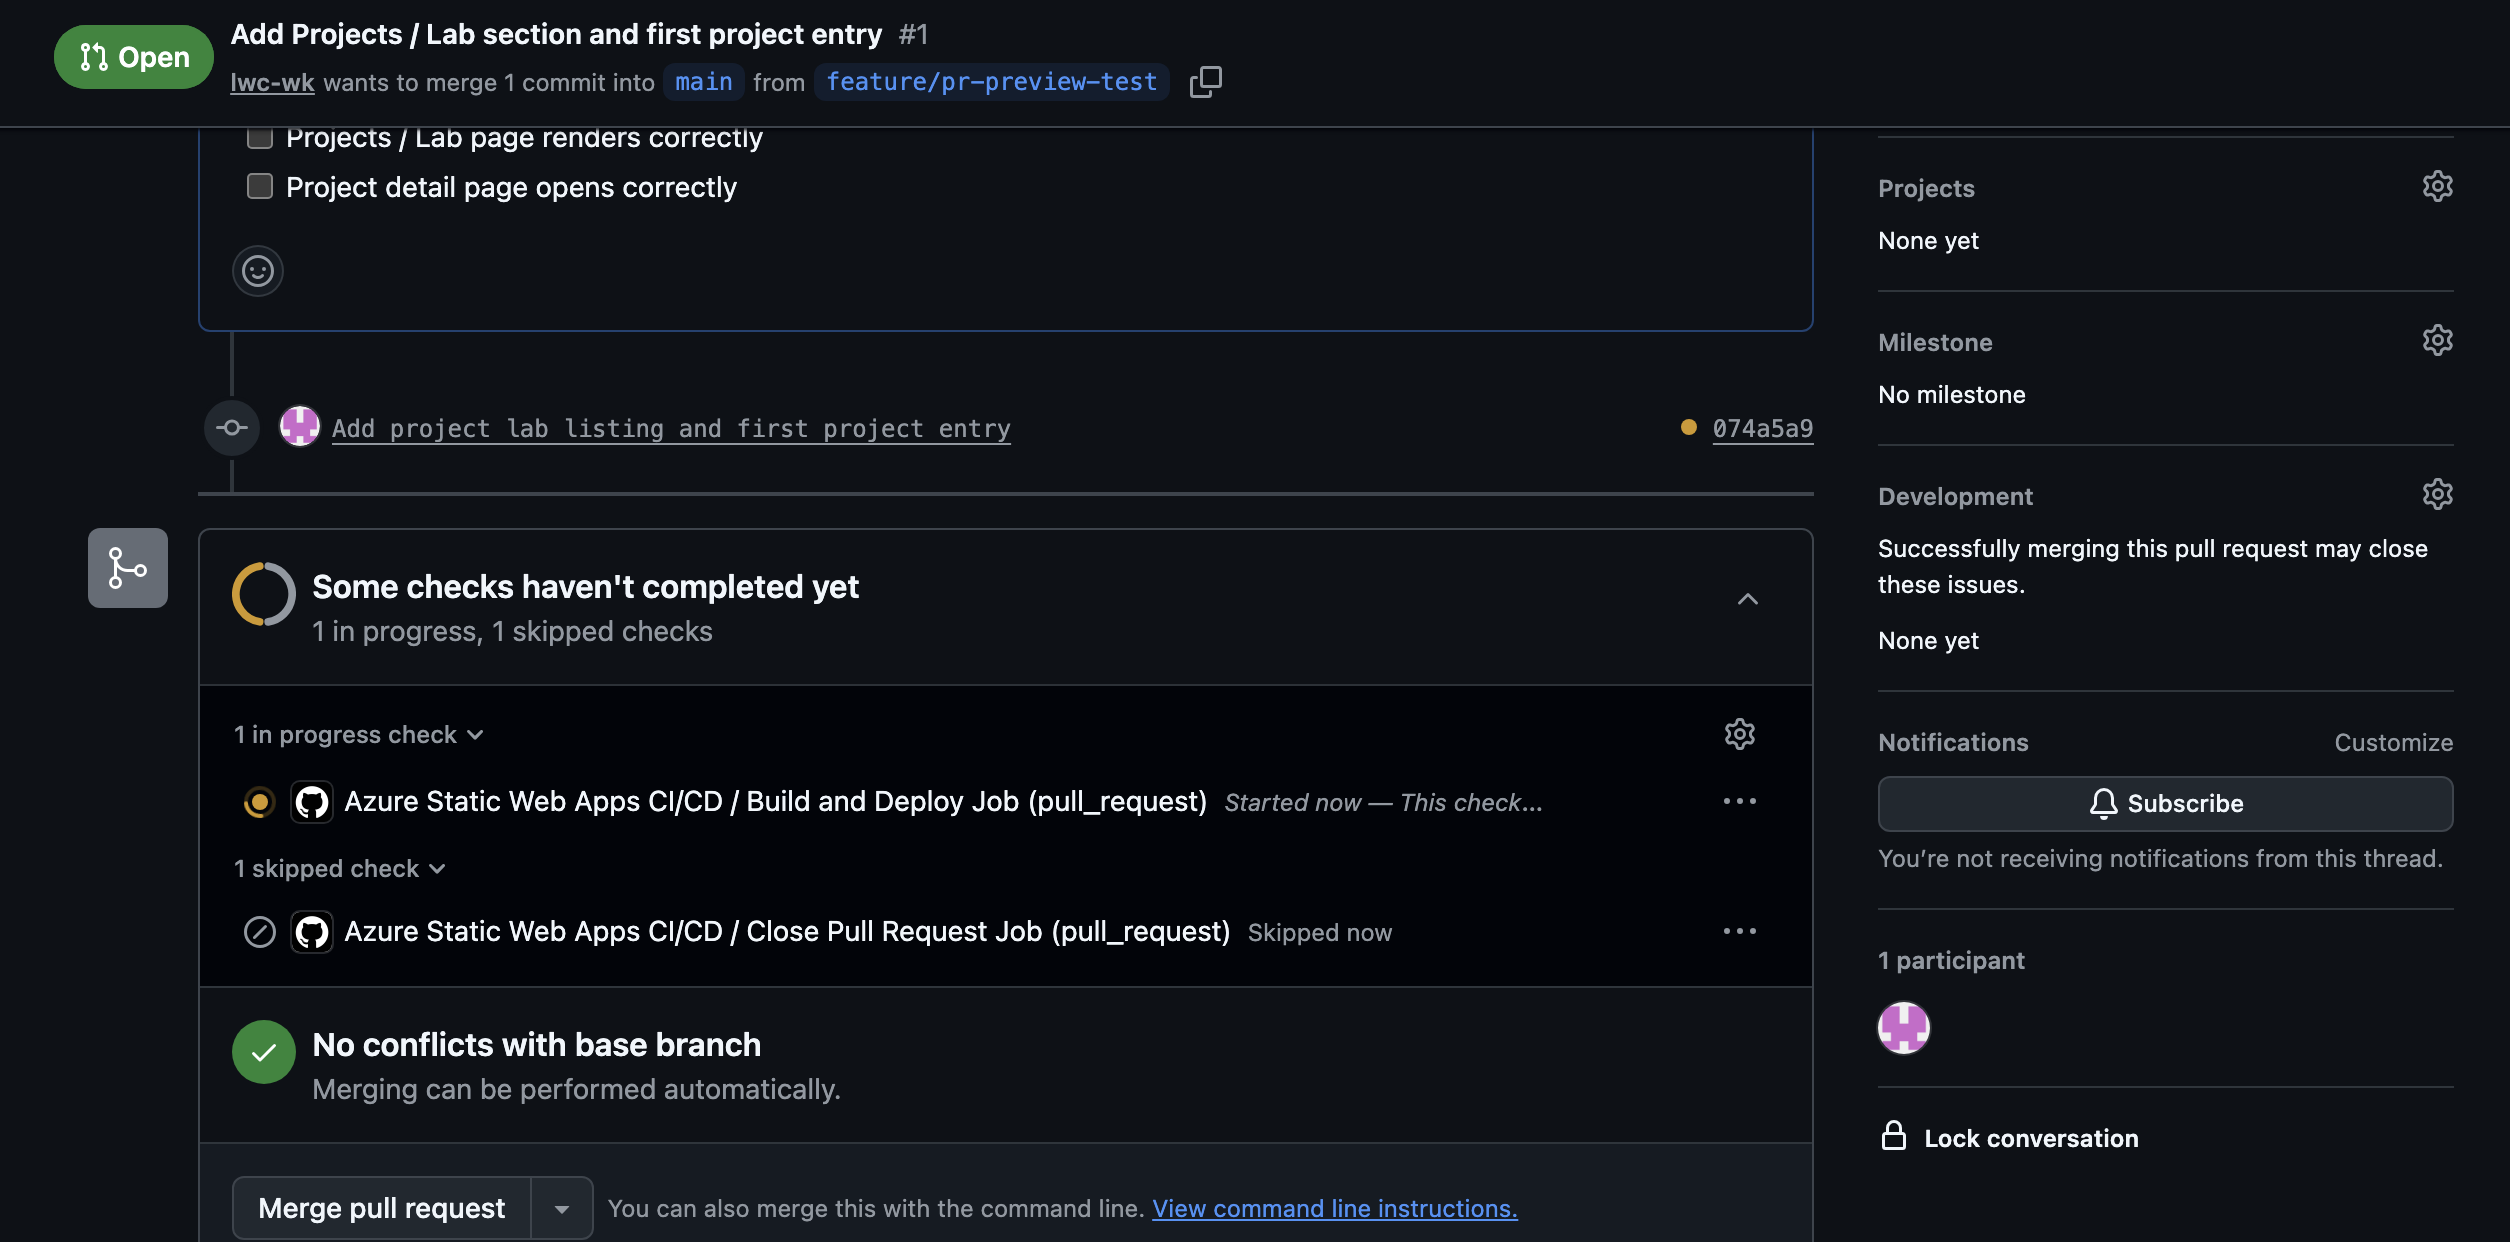
The checks showed:
- Build and Deploy Job running
- Close Pull Request Job skipped
- no conflicts with the base branch
This confirmed that the update was now going through a proper deployment check instead of going straight into production.
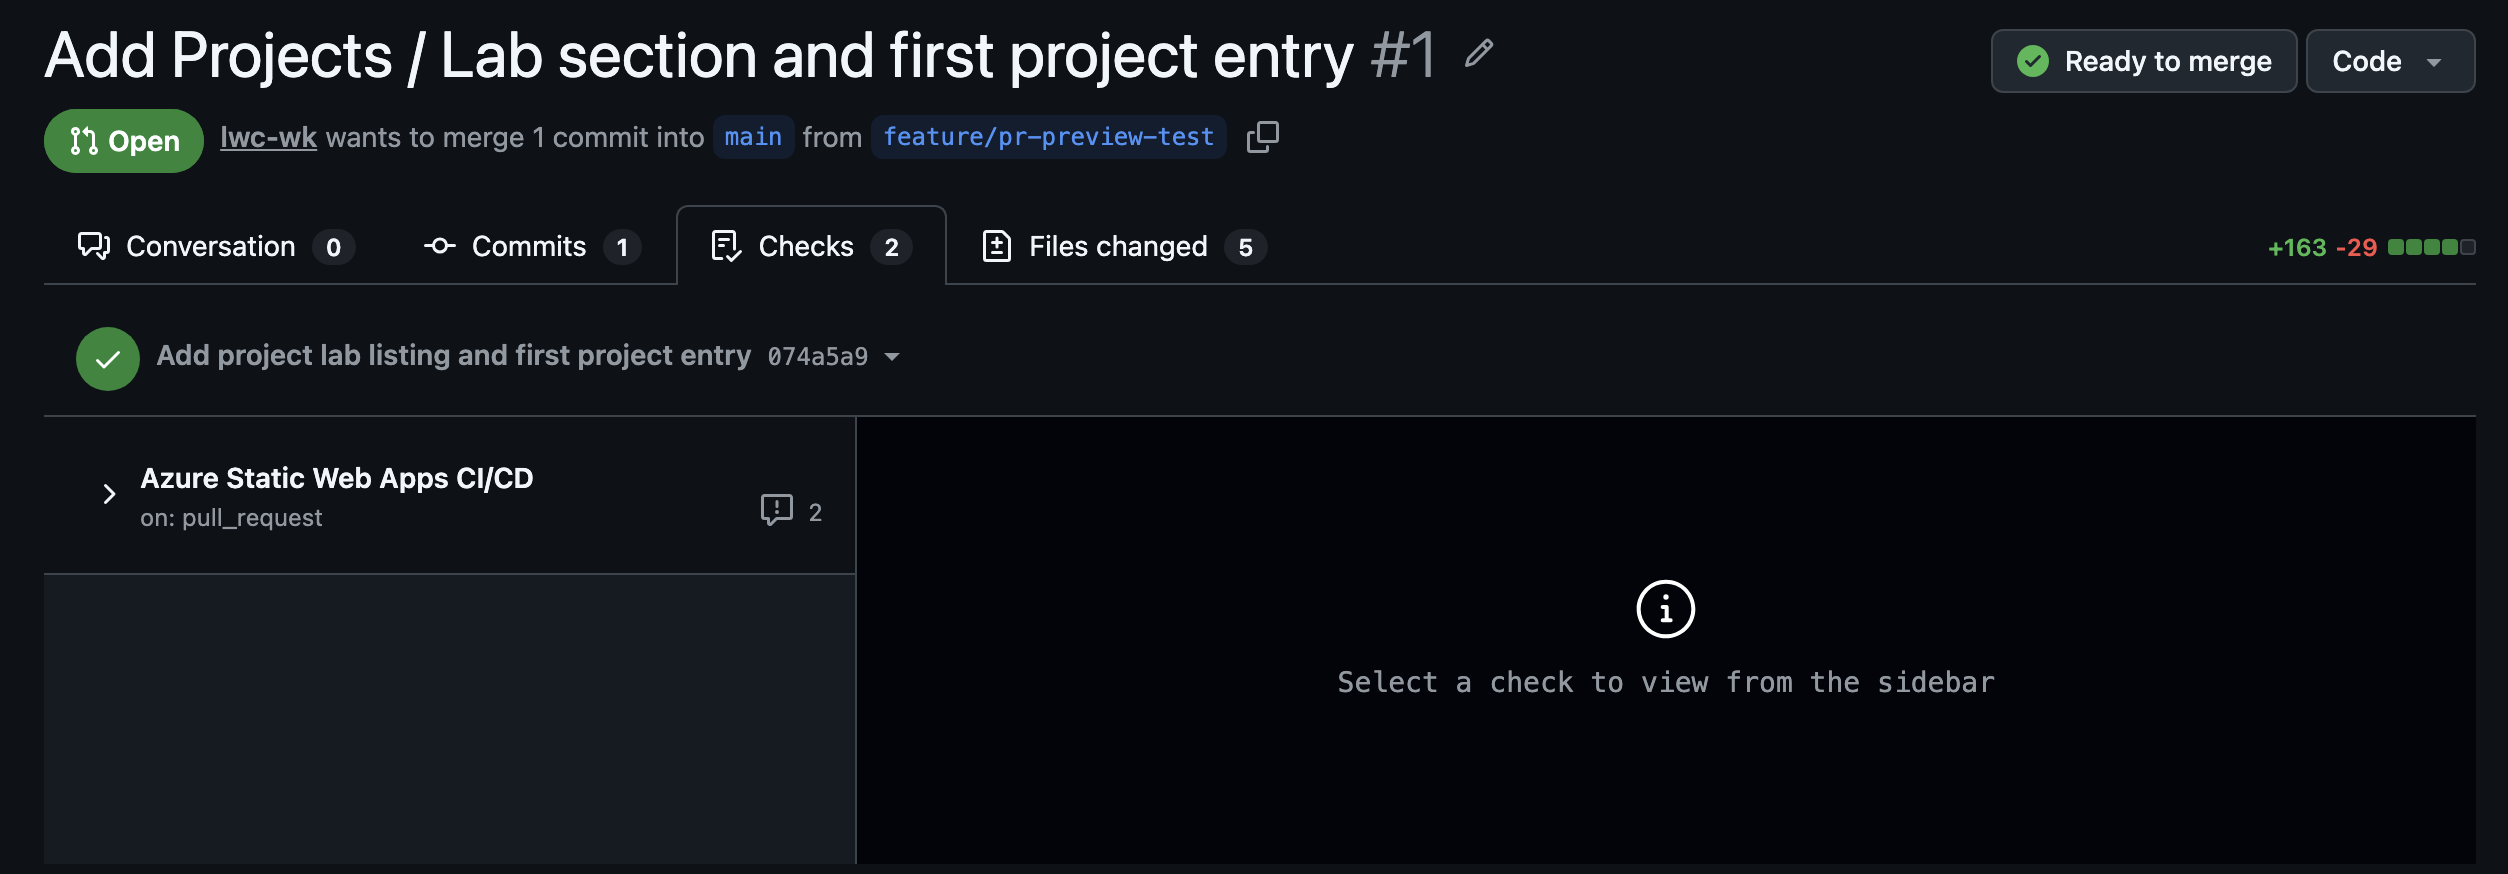
Step 7 - Read the Build Log
The Azure Static Web Apps build completed successfully.
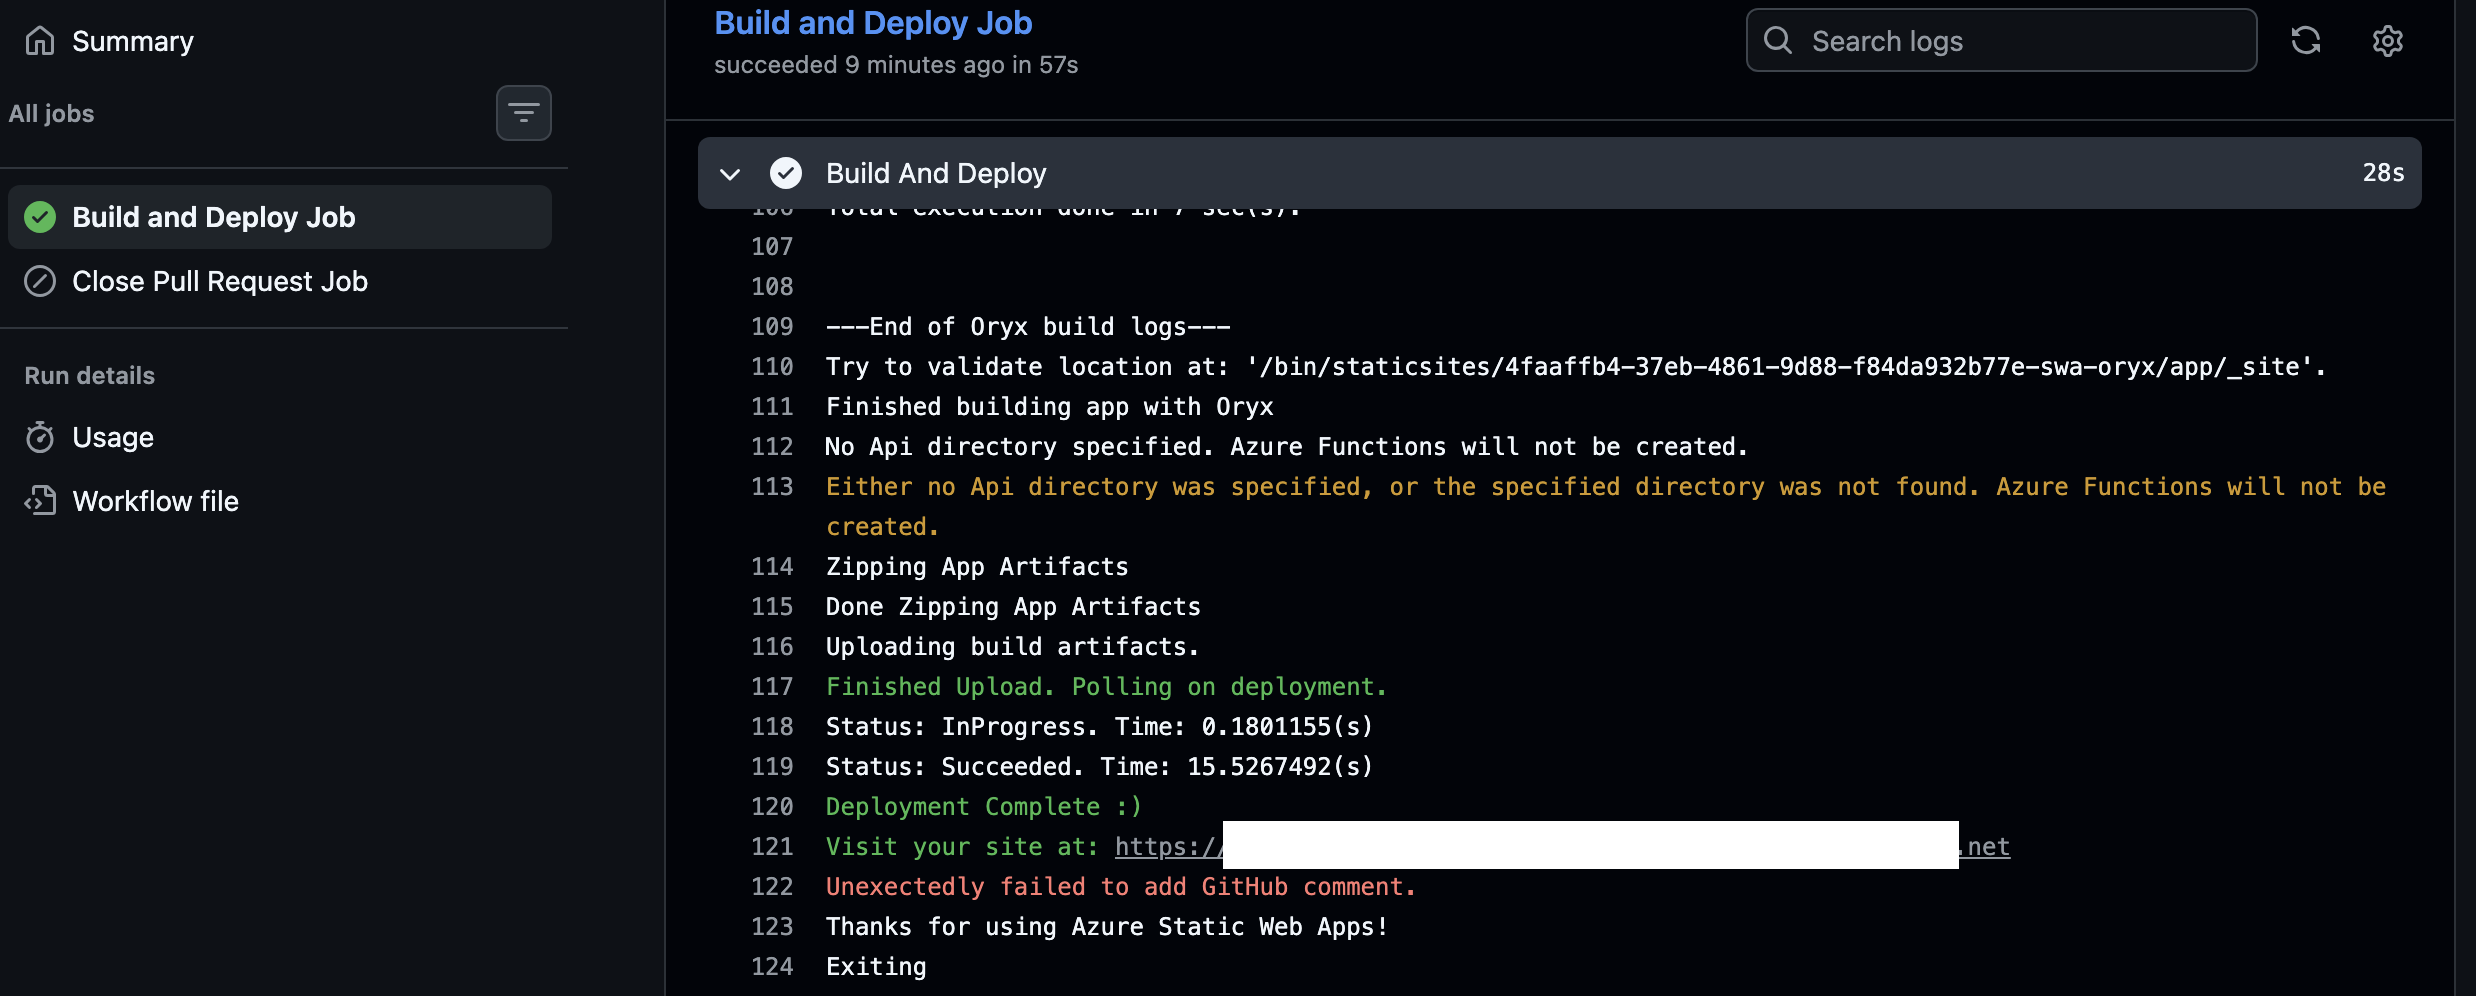
The build log also showed this message:
No Api directory specified. Azure Functions will not be created.
At this stage, that was expected.
Part 1 was focused on the static website structure and the Projects / Lab section. The API work came later in a separate branch.
So the important result here was that the static site changes built and deployed correctly through GitHub Actions.
Step 8 - Confirm the Checks Passed
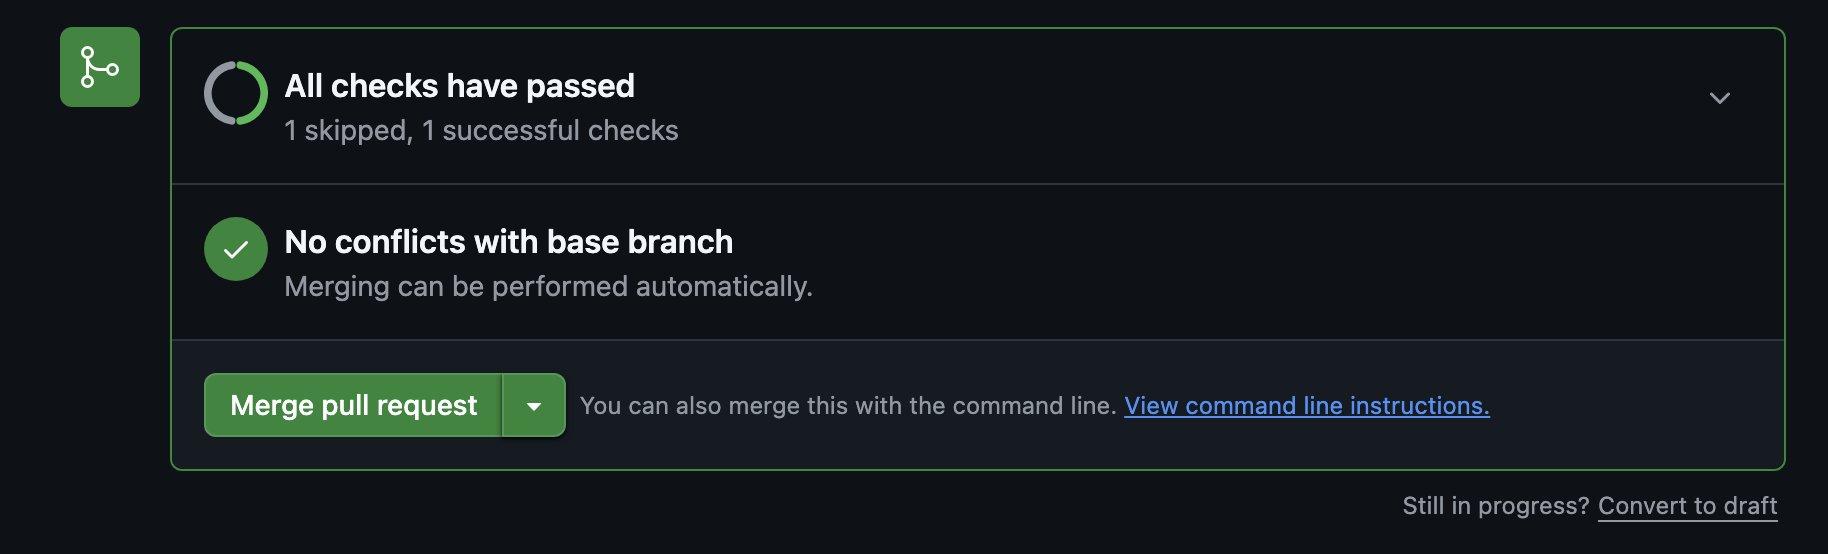
After the workflow finished, GitHub showed:
- all checks passed
- no conflicts with the base branch
- merge could be performed automatically
This was the main validation point for the update.
The branch had passed the Azure Static Web Apps deployment workflow, so I could merge with much more confidence.
Step 9 - Merge the Pull Request
After the checks passed, I merged the Pull Request into main.
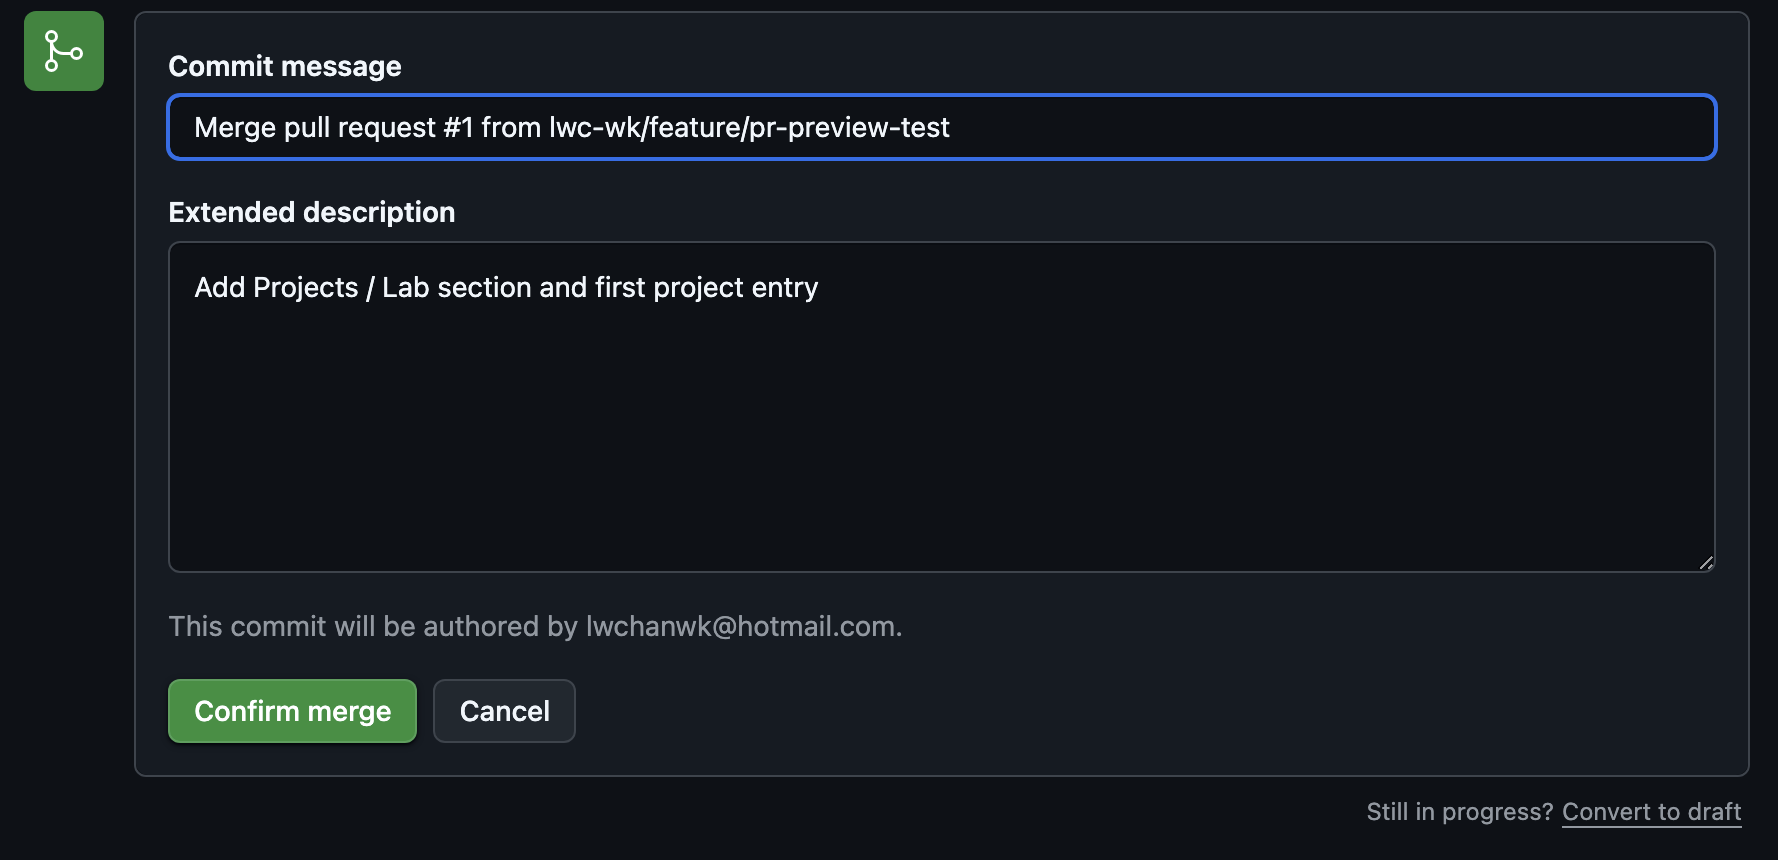
GitHub then closed the Pull Request and confirmed that the branch could be safely deleted.
This completed the first full branch-to-check-to-merge workflow for the site.

Result
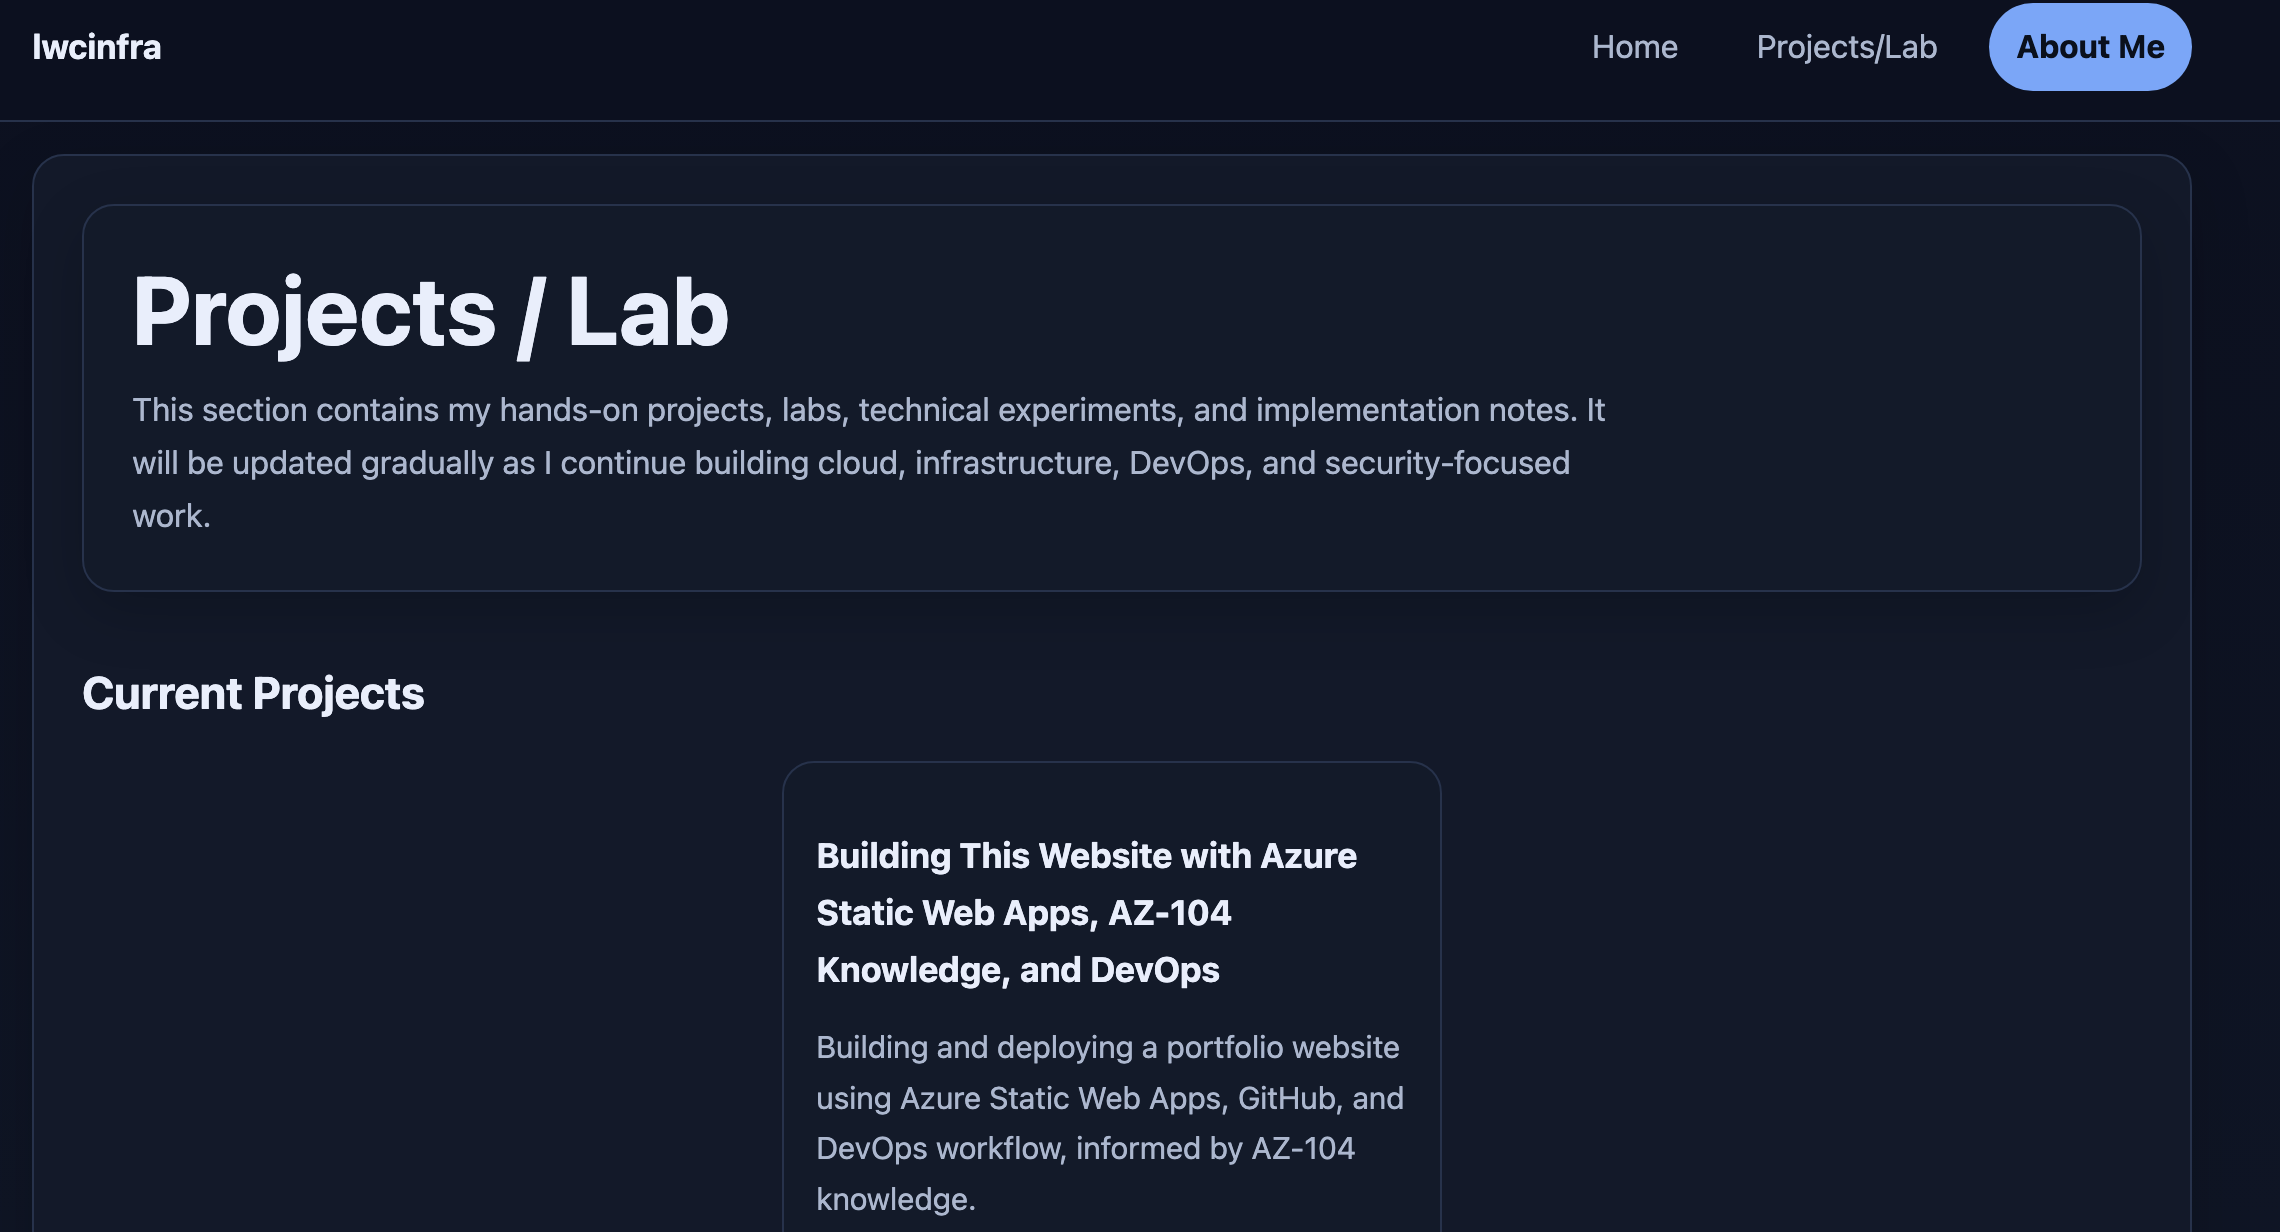
After the merge, the Projects / Lab section became part of the live site.
The website now had:
- a clearer technical portfolio structure
- a dedicated Projects / Lab section
- the first real project entry
- a successful Azure Static Web Apps GitHub Actions deployment check
This made the site much stronger as a practical cloud project.
What This Part Demonstrates
This part demonstrates:
- Git feature branch workflow
- Pull Request-based change control
- Azure Static Web Apps CI/CD integration
- deployment validation through GitHub Actions
- cleaner release discipline for a cloud-hosted website
Next Step
The next step in this project was to extend the site beyond static content by adding a lightweight Azure Functions endpoint and continuing the same branch-based workflow.